Types of Canners

Whether you are a new or life-long home food preserver; you may have noticed that there are a variety of canners available. It is important to recognize the pH of the food being processed will indicate what type of canner can be used. For high-acid foods (low pH), a boiling water bath canner or steam canner can be used.
Options such as a clear lid or solid lid are considerations with a boiling water bath canner. A clear lid is often desired as the user can see what is occurring in the canner easier. A steam canner, which uses less water may be desired compared to a boiling water bath canner but should only be used for foods with a processing time of under 45 minutes. For lower-acid foods (higher pH) it is critical that a pressure canner be used.
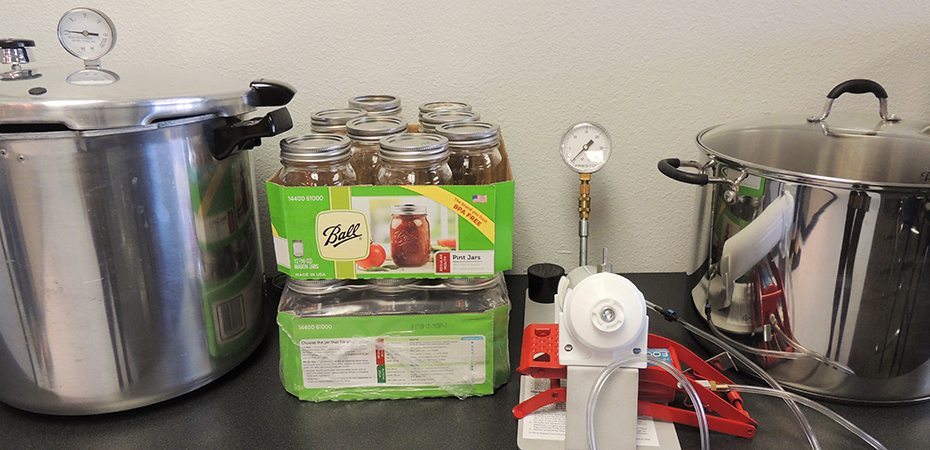
Pressure canners can have either a dial gauge or a weight that is used to verify the correct pressure is being achieved. The correct pressure will indicate that the correct temperature needed to reduce harmful microorganisms has been achieved. It is recommended that dial gauge pressure canners be tested annually to confirm the gauge’s accuracy. Many Extension Offices offer the testing service. Relatively new is the Presto® electric pressure canner. This canner is designed to use temperature to ensure product safety.
Users are to follow the Presto electric canner’s instructions for safe use. Do not use electric multi-cookers such as the Instant Pot®, for canning even if it has a canning option. These appliances have not undergone proper testing to ensure they hold the correct temperature during the entire process.
For more information on the various types of canners available for use, please reference the articles Pressure Can It Right and Steam Can It Right on the North Central Food Safety Extension Network website (https://www.ncrfsma.org/north-central-food-safety-extension-network-ncfsen). Regardless of what canner you are using, it is always important to confirm the recipe you are using has been tested for the type of canner you are using. There are a variety of tested recipes, refer to the National Center for Home Food Preservation or your local Extension Office.

Homemade Fruit Roll-ups
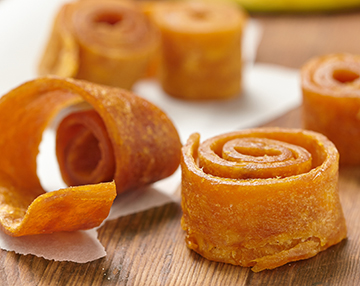
In many parts of the country, fresh locally-grown fruit is not readily available yet, but that does not mean you can’t make tasty dried fruit treats. This recipe for delicious fruit roll-ups or fruit leather can easily be adapted to use frozen or canned fruit.
You may choose to use home-preserved or store-bought canned or frozen fruit. If using canned fruit or frozen fruit with syrup, drain and reserve the liquid. You should use 1 pint of fruit for each 13”X15” tray. If using lighter-colored fruits, use 2 teaspoons of lemon juice or ? teaspoon of ascorbic acid for every 2 cups of fruit. Applesauce makes a delicious fruit leather on its own, but it can also be added to other purees as an extender or to decrease tartness. All fruit should be pureed until very smooth. If the mixture is too thick, add some of the reserved liquid.You may dry your fruit leather in the oven or in an electric dehydrator. If using the oven, you will want to cover a cookie sheet (with edges) with plastic wrap. If using a dehydrator, you will need to line the trays with plastic sheets. Many dehydrators come with these plastic sheets, but you can also use plastic wrap.
Fruit leathers should be dried at 140°F. They dry from the outside in. Test for doneness by touching the center. No indentation should be noted or left when touched. It can take up to 6-8 hours in a dehydrator or up to 18 hours in an oven to dry the fruit leather. Fruit leathers will keep for 1 month at room temperature and can be frozen for up to 1 year.